Ver todos los artículos
How to check camera equipment before a professional shoot:
Step-by-step guide
Introduction – Pre-check
Equipment list creation: Requirements, compatibility, and budget.
Coordination with rental house: Availability and timelines.
First steps – Camera and video assistant
- Photographic record of all components included in each case.
- Arrangement of cases in order: we recommend a U-shape layout.
- Charging batteries for all devices: camera, monitors, focus controller, etc.
- Color assignment for camera (A/B if applicable), video, and DIT if necessary.
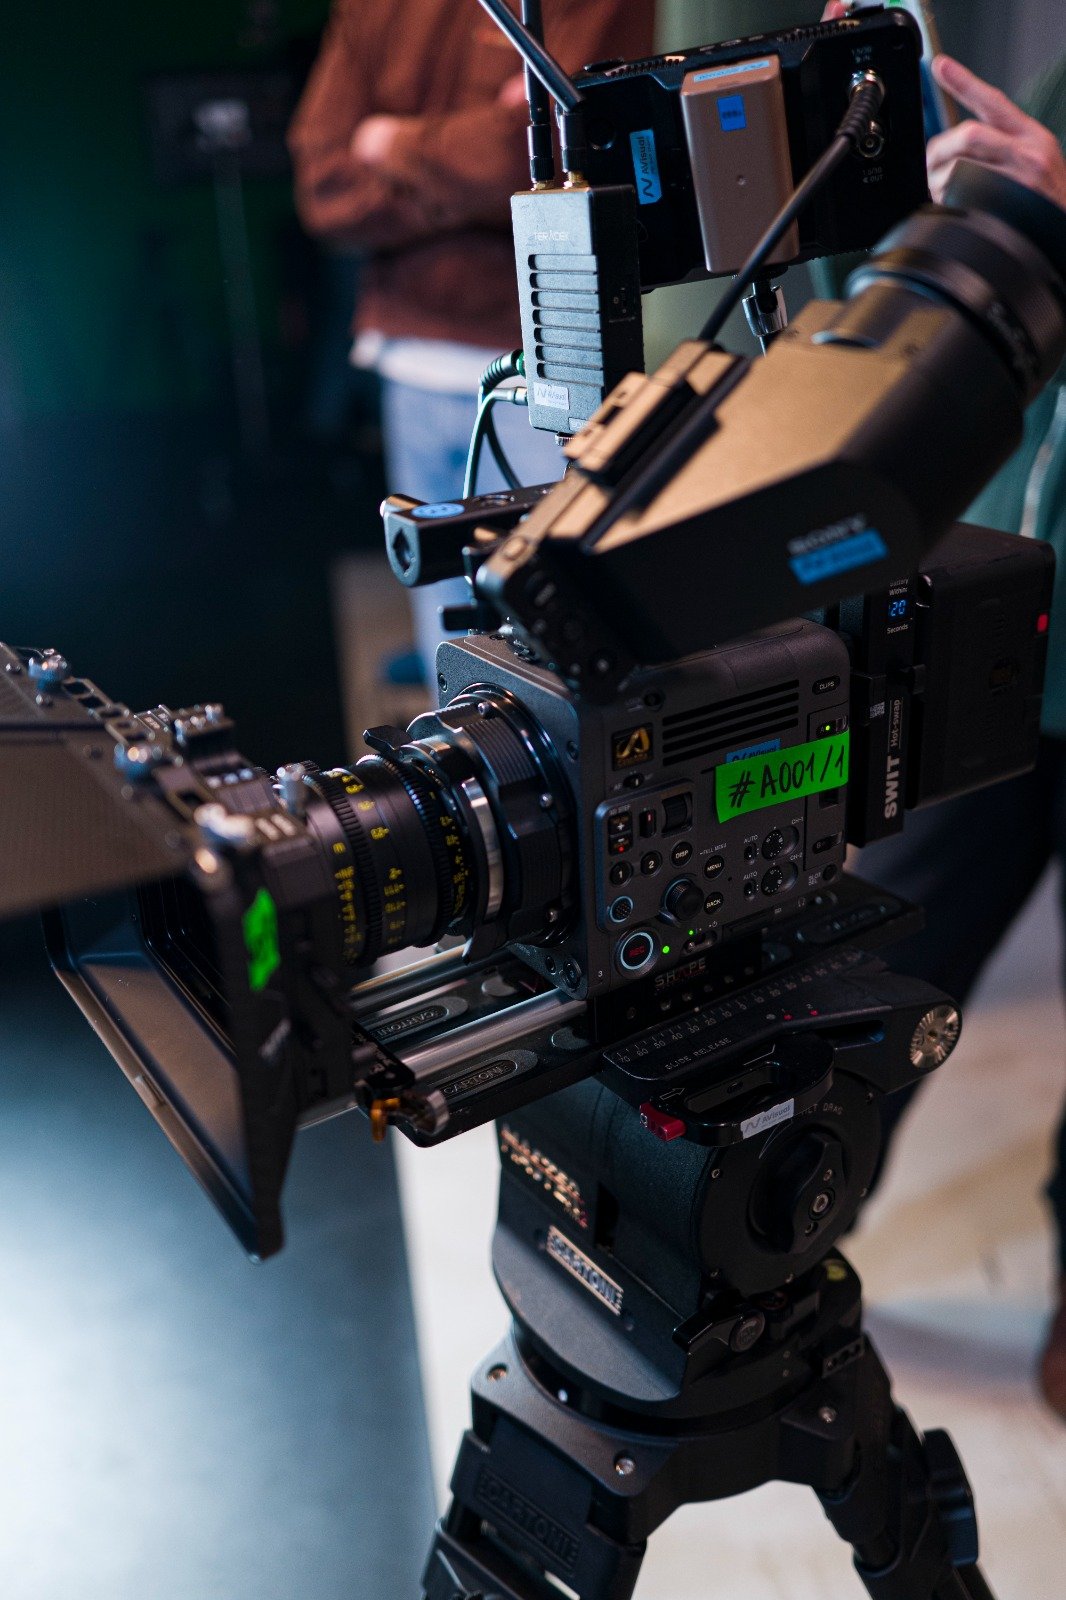
- Mark all items with the chosen color using camera tape: cables, accessories, batteries, etc.
- Numbering of items: batteries (all types), cards, and cases.
- “Fabrication” of accessories with consumables if necessary: markers, covers, rain provisions, etc.
Dressing the camera
- Initial camera mounting on tripod.
- Arrangement of accessories on camera: priority order, power supply and bridges, etc.
- Mounting of link systems together with camera (video)
- Connection verification: Inputs and outputs of all devices
- Video system design and assembly: monitors used, bridges, and priority order.
- Camera organization: finish cable management, functionality check, and ergonomics.
- Camera filters: Review and cleaning, marking, numbering, and placement of markers
- Case and floorbox organization: backup control and priority order.
- Assembly and testing of other camera supports if applicable (Ronin, vests, etc.)
Intermediate controls
- Assignment of commands and shortcuts
- Focus controller verification: various settings and preferences
- Lens inspection: possible impacts, scratches, etc., photographic record and notification to rental house personnel if applicable
- Focus chart with all lenses
- Formatting and testing of memory cards
Final steps
- Camera configuration: According to DOP instructions (DIT will handle if applicable)
- Final workflow checks: clip recording and playback.
- Camera tests with DOP and director.